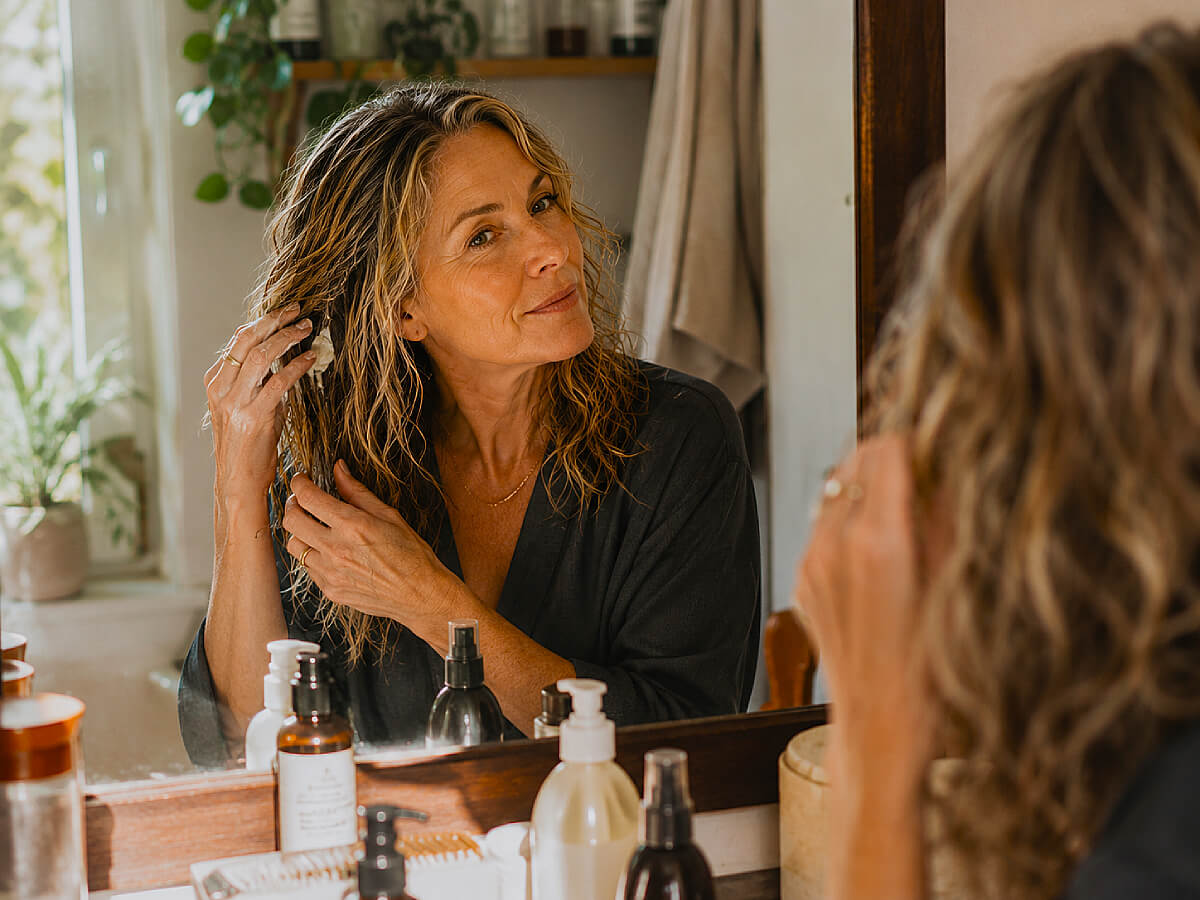

Question from Donna Fischetti, Rapid City, South Dakota: “I have naturally wavy hair and I feel like I’ve been doing my routine completely wrong my whole life. I buy all these products and they never seem to work the way they do on the videos I watch. Is there a correct order for applying everything? I feel like I’m missing something basic and nobody will just tell me straight.”
Donna, you’re not the only one noticing this. The order genuinely matters more than the products themselves, and I think that’s the part the beauty industry doesn’t want you to fully understand, because if you knew that, you’d buy less stuff. I’ve been doing hair for over fifteen years, and the number of women who come into my chair with a bag full of good products and still-frizzy waves tells me everything. It’s not the products. It’s the sequence.
I had a client a few years back, Karen, a retired teacher from outside Columbus, who was spending close to eighty dollars a month on wave products. She’d show me her hair and it would be this sort of… poofy, undefined, half-wave situation. Looked like her hair had started to curl and then given up. We didn’t change a single product in her routine. We just changed the order she was applying them, and the technique at one specific step, and her hair did something completely different the next time she washed it. She cried a little. I got a little emotional too, not gonna lie.
So here’s the full breakdown, in the order that actually works.
This post may contain affiliate links, meaning I may earn a small commission at no extra cost to you. I only share products I truly believe in. As an Amazon Associate, I earn from qualifying purchases. Your support helps me continue creating free content like this.
1. Start in the Shower With the Right Cleansing Strategy
Before any product touches your hair outside the shower, the foundation of your whole wavy hair routine is set in here, and most people are already working against themselves before they even reach for a bottle of curl cream. The biggest mistake I see, especially with women who have fine or medium waves, is over-shampooing. Wavy hair is drier than straight hair almost by nature because the natural oils from your scalp have a harder time traveling down the curve of a wave. So if you’re shampooing every single day with a sulfate-heavy shampoo, you’re stripping what little moisture you have and wondering why your waves won’t cooperate.
The general approach that works well for most wavy hair types is shampooing two to three times a week at most, and using a sulfate-free formula that cleans without completely destroying your hair’s moisture balance. I’m a big fan of Maui Moisture Heal and Hydrate Shampoo for a drugstore option, and Ouai Fine Hair Shampoo for those with thinner waves who worry about being weighed down. The actual technique matters here too. Focus the shampoo only on your scalp, work it in with your fingertips in a circular motion, and let the rinse water carry it through the lengths. That’s enough. You don’t need to scrub your ends.
What you do in those last thirty seconds of your shower also sets up everything that comes after. Flip your head forward if you can, scrunch the water partially out of your lengths with your hands, and don’t touch the top of your hair aggressively. You want the wave pattern to start forming in the shower, not after you’ve roughed everything up with a towel. This one shift alone changes a lot for people.
2. Condition With Intention, Not Just Habit
Conditioning is not the same as hydrating, and that distinction matters for wavy hair. A lot of women I see are using their conditioner as a sort of afterthought, squeezing some in, running it through, rinsing immediately. That’s basically doing nothing. Conditioner needs a couple of minutes at minimum to actually do its job, which is to smooth the cuticle, add slip, and give your waves something to work with as they dry.
For wavy hair specifically, the placement of conditioner is really important. If your waves start around your ear level and above, applying conditioner all the way to your roots is probably contributing to that flat-roots, limp-wave situation you might be dealing with. Keep conditioner from mid-length to ends. The roots will thank you. I also like the technique of using a wide-tooth comb in the shower while the conditioner is still in, starting from the ends and working upward, because it distributes everything evenly and starts to set your wave clumps, which makes the product application after the shower much easier. The Tangle Teezer wide tooth shower comb is the one I keep recommending to clients because it doesn’t snap hair the way a regular comb does when there’s tension.
Now, the rinse. Don’t rinse your conditioner out with hot water. I know, I know. But hot water opens the cuticle right back up and undoes the smoothing you just did. Cool or lukewarm water to rinse, and then you’re ready for the next step. The rinse water temperature is one of those small things that sounds minor and actually isn’t.
3. The Microfiber Towel Step Is Not Optional
Okay this is where I get a little opinionated, because I truly believe that standard terry cloth towels are responsible for more wavy hair frizz than anything else in the bathroom. The looped texture of a regular towel physically roughens the hair cuticle and disrupts your wave pattern before you’ve even touched a single product. I have seen beautiful natural waves completely destroyed by someone vigorously towel drying their hair the way their mom taught them, and I don’t blame anyone for it because nobody tells you this stuff.
What you want instead is a microfiber hair towel, and the technique is to scrunch upward, gently, holding each section for a few seconds rather than rubbing. The microfiber absorbs water fast without the friction. Some people swear by an old cotton t-shirt as an alternative and honestly it works pretty well too, the smoother the fabric, the less disruption to the cuticle. The Aquis microfiber towel is what I use at home personally, I’ve had it for two years and it’s held up really well.
Your hair should be wet but not dripping after this step. There’s a term people use, “soaking wet,” and that’s actually what you want going into product application, not damp, not dripping in sheets, but genuinely saturated. I know that sounds counterintuitive because you just toweled off, but the products you’re about to apply spread better, penetrate better, and distribute more evenly when the hair has that level of moisture still in it. If your hair dries too fast in your house or your climate is dry, have a spray bottle of water nearby to mist sections as you work through them.
4. Apply Your Leave-In Conditioner First, Before Anything Else
The leave-in conditioner is the foundation layer of your styling routine and it has to go on before your gels, creams, or mousses, full stop. This is where I see the most confusion, because people will sometimes skip leave-in entirely if they’re using a curl cream thinking they’re basically the same thing. They’re not. Leave-in conditioner is a moisture layer. Styling products are a shape and hold layer. You need both, and you need them in the right order or the hold products don’t have anything to grip.
Apply your leave-in to soaking wet hair, section by section if your hair is thick, or all at once if it’s on the finer side. The application method is to smooth it down the length with your palms, then scrunch it upward from the ends. You’re not trying to define the waves yet with this step, you’re just getting moisture evenly distributed. Kinky Curly Knot Today is a product I’ve recommended probably hundreds of times to clients with wavy hair, and it works across a huge range of textures. For something lighter, Not Your Mother’s Curl Talk Leave-In Conditioner is genuinely good for the price and I’m not embarrassed to say that.
One thing that trips people up here is using too much leave-in when their hair is really wet, because they can’t tell how much they’ve applied and they end up with buildup. Less than you think. Wavy hair especially, because it tends to be finer than curly hair, doesn’t need the same amount. Start with less, scrunch it in, see how the hair responds. You can always add more but you can’t take it out without starting over.
5. Layer Your Curl Cream Over the Leave-In While Hair Is Still Wet
Curl cream is the step that actually starts building your wave pattern, and the timing of it is everything. You want your hair still very wet when this goes in, not just damp. If you’ve been working slowly through the leave-in step and your hair has started to dry a little, mist it back up with water before you reach for the cream. Dry or even damp hair does not receive curl cream the way wet hair does, and the result is patchy, undefined, or crunchy in the wrong way.
The technique I use on clients and that I do on my own hair is to take a small amount of curl cream, emulsify it between my palms, and then smooth it over a section from root to mid-length, then scrunch the ends up into the length. What you’re encouraging is the natural clumping of waves, which is the foundation of definition. Fighting that clumping by raking your fingers through is what gives you frizz and separation instead of waves. Let the clumps form. Trust them. They look a little strange when your hair is wet and that’s fine, they’ll soften as they dry.
My two favorites right now are SheaMoisture Coconut and Hibiscus Curl Enhancing Smoothie, which is rich and works beautifully for medium to coarse waves, and Cantu Wave Whip for women with finer waves who want something lighter. I will say, the SheaMoisture gets overhyped sometimes and it is genuinely heavy, so if your waves tend to fall flat by midday, it might be weighing you down more than helping.
6. Lock Everything In With a Gel or Mousse (This Is the Step Most People Skip)
Here’s the thing about wavy hair that took me a while to really get across to clients. Waves need hold to stay waves, especially as the day goes on and humidity or dryness works against the pattern. The leave-in and the curl cream build the shape, but without something to lock it in, your waves are going to relax into a sort of vague wave-ish frizz by noon. That’s not a product failure, that’s just physics.
Gel has a bit of a reputation problem with older women especially, because the gels of the nineties were stiff and flaky and left hair looking like a helmet. Modern curl gels are genuinely different. Aussie Instant Freeze Gel is one I’ve kept in rotation for years, it gives a flexible hold that you can scrunch out later to soften, and it doesn’t flake. LA Looks Sport Gel is another one that the wave community has basically adopted as a cult product and for good reason, it’s cheap, it works, and a bottle lasts forever.
The application is the same as the cream step, scrunch upward, don’t rake through. Apply it over the curl cream while everything is still wet. Your hair is going to look a little crunchy and somewhat defined while it’s drying and that is exactly right. The crunch is not the finished look, it’s just the gel casting forming around your wave pattern to hold it in place. Once your hair is completely dry, you’ll scrunch the cast out with your hands and that’s when you see the actual result. If you don’t let it dry completely before scrunching, you’ll just get frizz again. Wait the full dry time. I know it’s hard.
7. Diffuse or Air Dry Without Touching It, Then Scrunch Out the Cast
This is the step that makes or breaks everything that came before it, and it’s also the one where most women undo all their own work without realizing it. After you’ve applied your layers, the biggest thing you can do for your waves is leave them alone while they dry. Touching, adjusting, separating, checking, all of it introduces frizz. The waves need to be left to set in their clumps, undisturbed, until they’re fully dry. And I mean fully. Not mostly. Touching damp wavy hair that still has gel in it is how you get frizz that you then blame on your products.
If you’re diffusing, which I actually recommend over air drying for most wavy hair because the heat helps set the wave pattern and gives you more volume at the root, the technique is to lower sections of your hair into the diffuser bowl and hold it there rather than moving the diffuser constantly around your head. Moving it around creates turbulence and turbulence creates frizz. Cup and hold, then move to the next section. A good diffuser attachment matters here more than people realize. The DevaCurl DevaFuser is excellent, and the Xtava Black Orchid diffuser is a great and much cheaper option that fits most standard dryers.
Once your hair is one hundred percent dry, and you can tell because it won’t feel cool to the touch and the clumps will feel firm, this is when you scrunch the cast out. Flip your head forward, cup your hands around sections, and scrunch upward with a little pressure. You’ll feel the cast break apart and the waves underneath will soften into something that actually looks like hair you’d want to wear out. This moment, honestly, never gets old for me. It’s one of my favorite things about working with wavy hair, watching it go from this crunchy rigid thing to soft, defined waves in about thirty seconds. If you’ve been doing your routine in the right order and you’ve been patient through the dry time, this final scrunch is your payoff.
If you want more volume, flip your head forward while you do it. If you want it to lie flatter and more sleek, scrunch while upright. Small thing, different result. That’s the kind of control you get when the foundation of the routine is right.
One More Thing Before You Go
Donna’s question is one I get in some version almost every week, and what I want you to take away from all of this is that your waves are not broken. Wavy hair is actually incredibly responsive when you give it what it needs in the right order, and so much of the frustration people feel about their waves is genuinely just a sequencing problem, not a you problem or even a product problem. You might not need to buy a single new thing. You might just need to rearrange what you already have on your bathroom shelf.
Start with how you cleanse. Condition with some intention. Use a microfiber towel and resist the urge to scrub. Layer your products from thinnest to thickest while your hair is still soaking wet. Don’t touch it while it dries. Then scrunch out the cast at the very end and let your waves actually show up. That’s the whole routine. It sounds almost too simple once it’s laid out like this, but it took me years of working with clients to understand why the order mattered as much as it does.
Give it three or four wash days before you judge it. Wavy hair sometimes takes a little time to detox from old habits, and your pattern might get better and better over the first few tries as your hair gets used to being treated differently. I’d love to hear how it goes.